Why is my V-Ray material a colored checker pattern in SketchUp, but renders correctly?
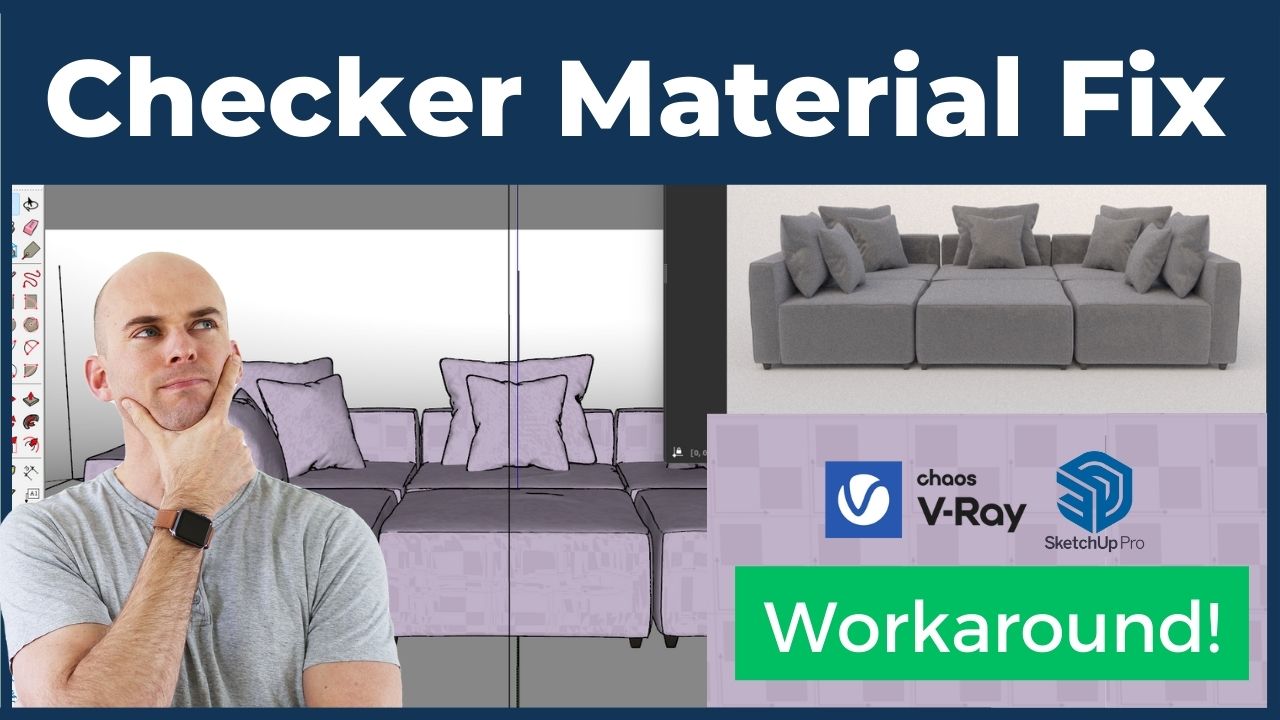
You’re working in SketchUp and V-Ray, and you just applied an amazing looking material to your object. Great! But when you look at SketchUp, your material is not showing correctly. It’s a checker pattern in a strange color. Strange, but you press the render button in V-Ray and the material renders correctly. As one of my old co-workers used to say (he had a very thick accent), “basically, I can’t work like this crap!”. So what’s going on with the SketchUp preview, and how do I fix it? Let’s dive in.
The Reason SketchUp Displays a Checker Pattern
When SketchUp can’t display a complex material or texture from an outside extension (like V-Ray), it instead shows a checker pattern, usually in an obnoxious color. It’s the equivalent of you walking into McDonalds and ordering tuna tar-tar. McDonalds says, don’t know what this is, so here’s a cheeseburger.
Certain V-Ray textures can’t be previewed in SketchUp. These textures include Utility Textures, Procedural Textures, and Raytraced Textures.
Utility Textures
V-Ray Utility Textures are a set of textures that are included with the V-Ray software package. These textures are designed to be used in a variety of ways to help achieve more realistic and detailed renderings.
Some of the common V-Ray Utility Textures include:
V-Ray Dirt: This texture creates a layer of dirt or grime on top of the surface of an object. It can be used to add a weathered or aged look to surfaces, or to create more realistic textures.
V-Ray Wireframe: This texture creates a wireframe pattern on the surface of an object. It can be used to show the topology of a 3D model, or to create a stylized look.
V-Ray Curvature: This texture creates a map of the curvature of a surface. It can be used to add subtle variations in lighting and shading to surfaces, or to create more detailed textures.
V-Ray Tri-Planar: This texture is used for projecting textures onto surfaces without distortion. It can be used to create more accurate and realistic textures for objects with complex shapes.
Procedural Textures
Procedural textures in V-Ray are textures that are generated algorithmically using mathematical formulas rather than being created from photographic images or hand-drawn graphics. These textures are calculated on-the-fly during rendering, and can be infinitely scaled without any loss in resolution.
In V-Ray, procedural textures are created using a combination of noise functions, fractals, and other mathematical operations that allow for the creation of complex and natural-looking textures such as wood, stone, clouds, and other organic or geometric patterns.
Procedural textures are highly versatile, allowing for the creation of custom textures that can be modified in real-time by adjusting various parameters such as scale, color, and pattern. They are also lightweight, since they do not require the storage of large image files, and can be easily shared between projects.
Examples of procedural textures include Checker, Grid, Tiles, Cloth, Leather, Bulge, UVW, Water, Noise A, Noise B, Cellular, Marble, Splat, Smoke, Stucco, Rock, Granite, and Speckle.
Raytraced Textures
Raytraced textures in V-Ray refer to textures that are generated using ray tracing techniques. Ray tracing is a rendering technique that simulates the behavior of light in a virtual environment. When rendering a 3D scene, V-Ray uses ray tracing to determine how light interacts with the objects in the scene, including textures.
Raytraced textures in V-Ray can simulate a wide range of real-world materials and surfaces with high accuracy, such as metals, glass, plastic, wood, and more. By using ray tracing, V-Ray can accurately calculate the reflection, refraction, and absorption of light in these materials, resulting in realistic textures.
Raytracing also allows V-Ray to simulate more complex lighting scenarios, such as indirect lighting, global illumination, and caustics, which can significantly enhance the realism of the rendered scene.
Examples of raytraced textures include Edges, Falloff, Fresnel, Dirt, Curvature, and Distance.
How to Fix This a V-Ray Material Not Showing Correctly in SketchUp
Long story short, you can’t. However, you can tell SketchUp to display a color instead, so at least you can get rid of that checker pattern and find a color that is similar to the material you specified.
In SketchUp, you can uncheck the “use textured image” feature in the Edit tab of the Material panel (default tray), and then use the color selector or color wheel to find a color similar to your material.


