How I Save Hours on Every SketchUp Model
The exact 6-step workflow I use to cut hours off every SketchUp model - pre-built components, real trim profiles, and the two extensions that make it instant.

Early in my modeling career, I built everything from scratch. A paneled interior door took me 30 to 45 minutes. A single inset shaker cabinet was closer to an hour by the time the door, drawer, and hardware were right. Multiply that across a full kitchen and I was spending days modeling things that had nothing to do with my actual design.
Here's the thing - none of that was design work. The client wasn't paying me to rebuild a toilet. They were paying me for the layout, the finishes, the feel of the space. So over the years I built a library of every component I kept modeling over and over, and my process completely changed. That collection became the FOCUSED 3D Library - 5,000+ SketchUp-ready objects across 32 packs - and this post is exactly how I use it, in the order it comes up in a real project.
My rule is simple: if it's not custom to the design, I don't model it. I place it, and I spend the time I saved on the decisions that win the client.
Key Takeaways:
- The rule: if it's not custom to the design, don't model it - place a pre-built component and spend the saved time on the design decisions that win clients.
- Biggest wins first: doors, windows, kitchen cabinets, and bathroom fixtures - pieces that take 30-60 minutes each to model by hand place in seconds.
- Two extensions do the heavy lifting: Profile Builder 4 runs trim from real profiles, and Component Finder by FlexTools puts the whole library one click away.
- The payoff: 15 to 20 hours of non-design modeling back on every single project.
*Affiliate links may be used throughout this article. Read our Privacy Policy for more information.
Table of Contents
1. Drop In Doors and Windows First
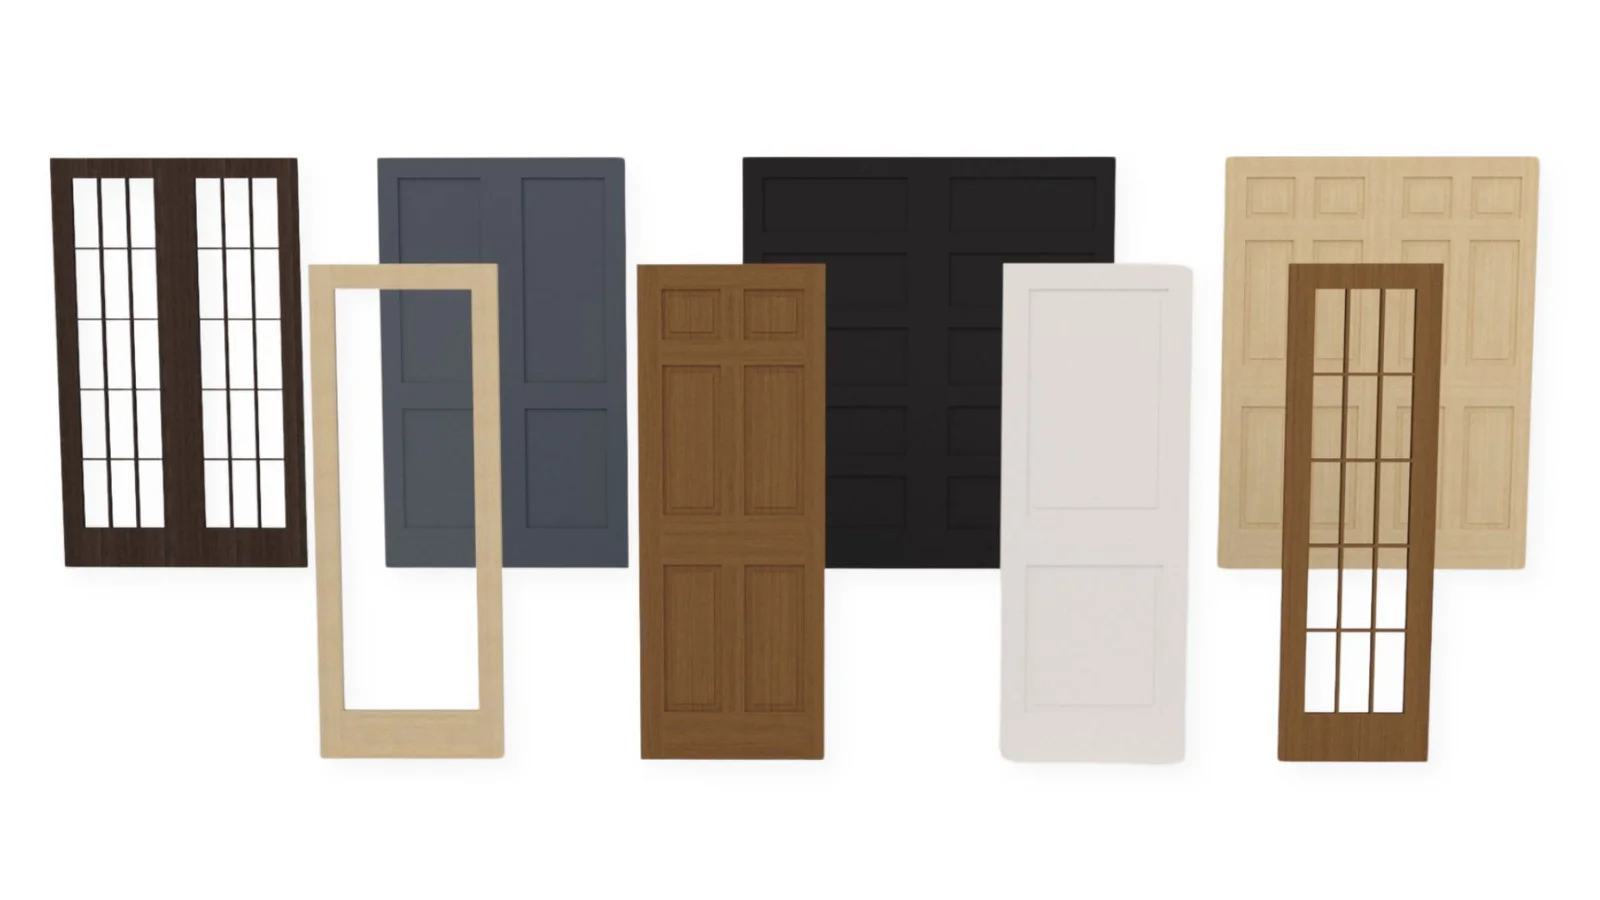
Once my walls are up, the very first thing I do is place doors and windows. This is the fastest win in the entire workflow - a modeled space goes from "studs and drywall" to "a room a client recognizes" in minutes. I keep the Interior Door Pack (298 doors) and the Window Pack (163 windows) loaded in every project, so placing a door is a click and a snap instead of a 40-minute modeling session.
2. Build Kitchens From Cabinet Packs, Not From Scratch
Cabinets are where a component library earns its keep. The library has eight full cabinet packs - inset, faceframe overlay, and frameless, in shaker, slab, Edgewater, and flat-front styles - nearly 2,900 cabinets, all built to standard real-world sizes. I lay out a full kitchen by placing base cabinets along the wall like I'm ordering from a spec book: 36" sink base, 24" drawer stack, corner unit, done. What used to be the longest week of a project is now an afternoon.
Then I finish the run with appliances: the Range Hood Pack (336 hoods), the Range Pack, and the Refrigerator & Freezer Pack are already sized to slide right into the openings, and the Kitchen Fixtures Pack covers the faucets and pot filler.

3. Knock Out Bathrooms in One Sitting
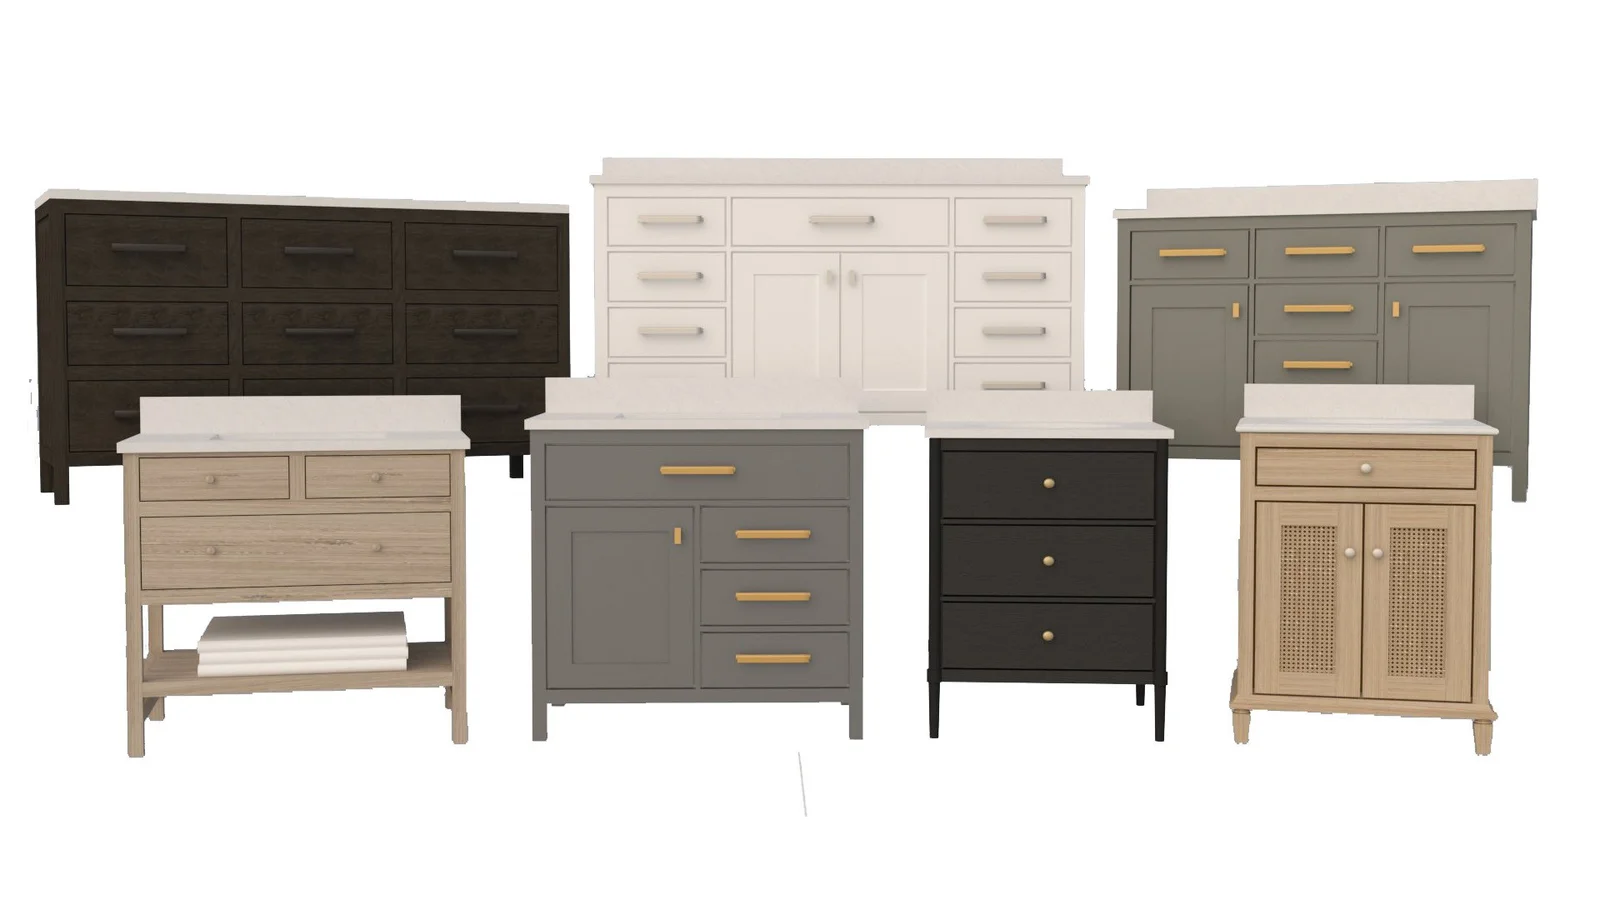
Bathrooms pack more fiddly modeling per square foot than any other room - vanities, tubs, toilets, faucets, hardware. I used to lose half a day modeling fixtures I'd never reuse on the next project. Now a full bath comes together in one sitting: place a vanity from the Vanity Pack, drop in a tub and toilet, then finish with the Bathroom Fixtures Pack. Nearly 100 bath objects, all proportioned to real products, so the room reads right the first time.
4. Run Trim With Real Profiles and Profile Builder 4
Crown, base, and casing used to be tedious - drawing profiles by hand, guessing at proportions. Now I pair the Home Depot Trim & Moulding Profile Pack (117 real profiles) with the Profile Builder 4 extension: pick a profile, trace the wall, and Profile Builder runs the moulding as a smart assembly I can adjust any time. And because these are real, purchasable profiles, the contractor can buy the exact moulding that's in the render. The model isn't just pretty - it's buildable.
5. Stage Every Space Before You Render
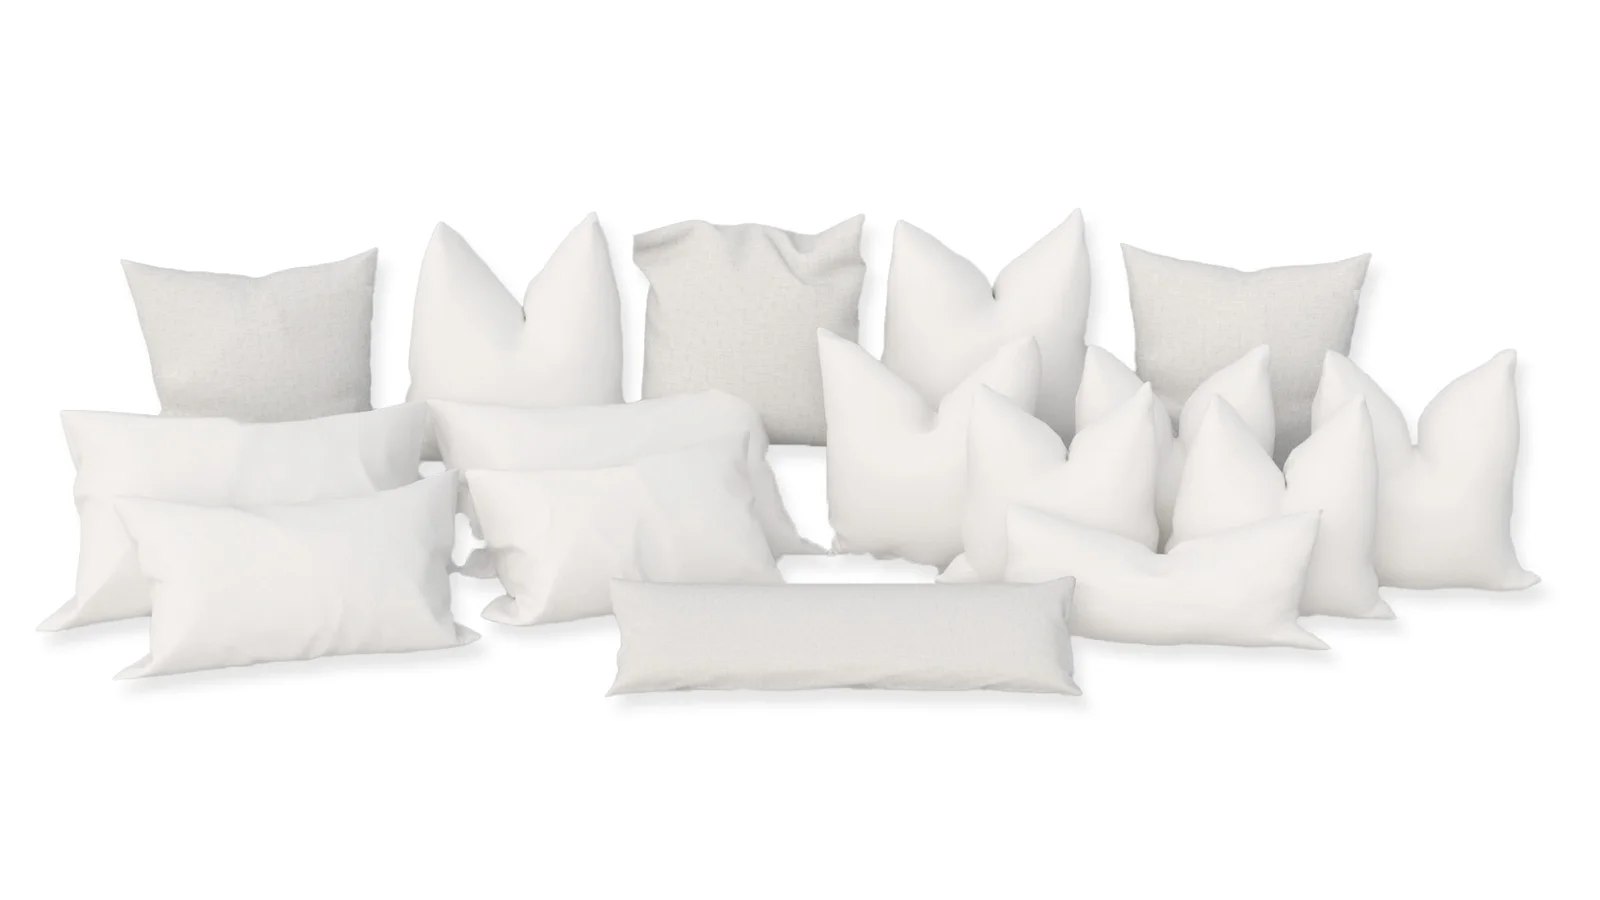
Empty rooms don't win approvals - staged rooms do. Before any render, I dress the space: pillows and bedding in the bedroom, rugs and curtains in the living spaces, furniture and an outdoor kitchen on the patio. Staging used to be the step I skipped because modeling a throw pillow felt ridiculous. Now it takes ten minutes with the Pillow Pack, Rug Pack, and Outdoor Furniture Pack, and it's the difference between a model and a moment the client can picture living in.
Working outdoors? The Landscape Lighting Pack plus a dusk render setting is my favorite closer for pool and patio projects.
6. Put Your Whole Library One Click Away
The final layer of speed: I don't dig through download folders. Every pack lives in my component library, and I browse it with the Component Finder extension by FlexTools - thumbnails of everything, organized by folder. I see the door or cabinet I want, click it, and it drops straight into my model. Zero searching, zero re-importing.
And because every library object is built clean and render-friendly for both SketchUp and V-Ray, there's no cleanup step between placed and rendered.
Add the Hours Up
Run the math on a single project. Doors and windows, a kitchen's worth of cabinets and appliances, two baths, trim, staging - that's easily 15 to 20 hours of modeling that produces nothing a client would ever pay for. The workflow above gives those hours back on every single project, and you spend them where they count: on the design decisions that win approvals and justify your fees.
Frequently Asked Questions
What is the FOCUSED 3D Library?
It started as my personal collection of every component I kept modeling over and over - now it's 5,000+ SketchUp-ready objects across 32 packs: doors, windows, cabinets, appliances, bath fixtures, trim profiles, and staging pieces, all proportioned to real products.
Do I need extensions to use this workflow?
Only two, and each has one job: Profile Builder 4 runs crown, base, and casing from real moulding profiles, and Component Finder by FlexTools puts the whole library one click away inside SketchUp. Everything else is plain place-and-snap.
How much modeling time does a component library actually save?
A paneled door is 30 to 45 minutes to model by hand and a single cabinet is close to an hour - placing them takes seconds. Across doors, windows, a kitchen, two baths, trim, and staging, that's easily 15 to 20 hours back on a typical project.
Does this work for full kitchens?
Yes - eight cabinet packs (inset, faceframe overlay, and frameless, in shaker, slab, Edgewater, and flat-front styles) cover nearly 2,900 cabinets in standard real-world sizes, and the range, range hood, and refrigerator packs are already sized to slide into the openings.
Do the renders match products a client can actually buy?
That's the point - the trim pack uses 117 real, purchasable Home Depot profiles, so what's in the render is what gets ordered.
Start with the rule, even if you build your own components: if it's not custom to the design, don't model it. Place it, and go design.
Tags