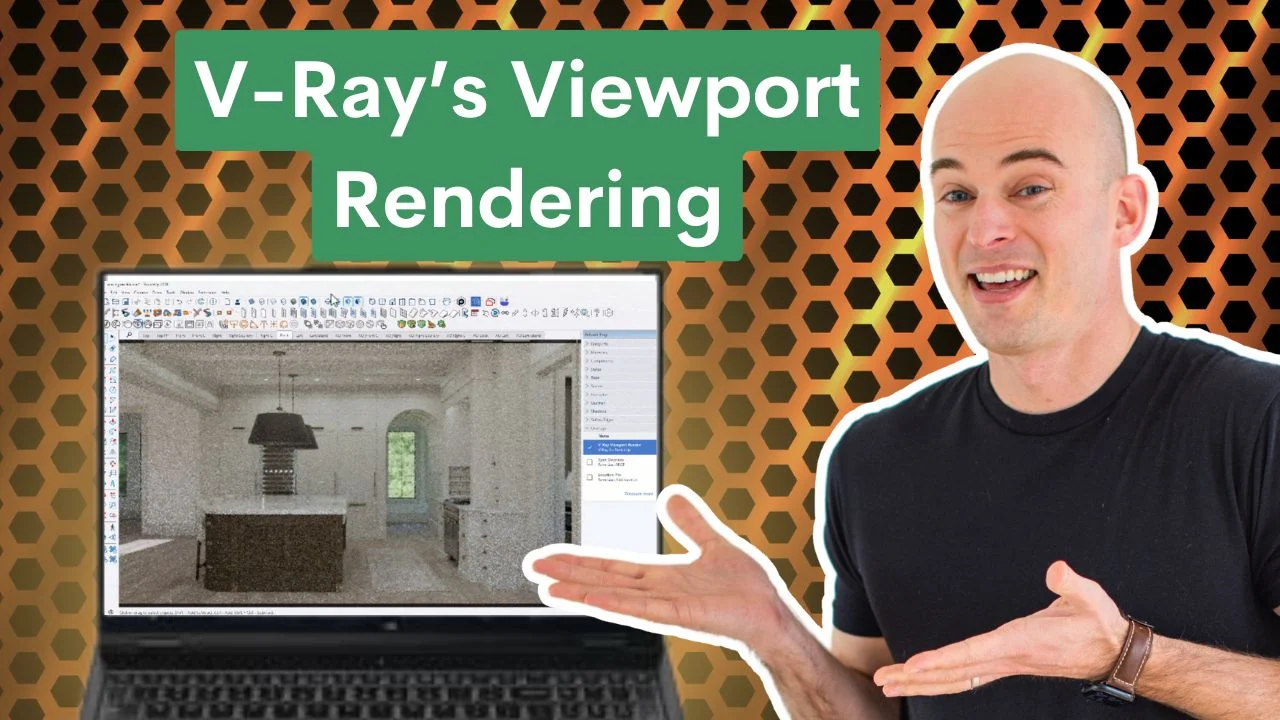
How to Use Chaos V-Ray’s Viewport Rendering inside of SketchUp
In the fast-paced world of design, having tools that allow you to visualize your work in real time can be a game-changer. Chaos V-Ray’s Viewport Rendering (VPR) in SketchUp is one of those tools, and it’s a must-have for interior designers, kitchen designers, and anyone working on detailed, high-quality 3D renders. This feature overlays your render directly within SketchUp’s workspace, giving you an instant, interactive preview of your work. Let’s dive into how to use this powerful tool and why it’s a game-changer for your design process.
Key Takeaways:
- Real-Time Adjustments: Viewport Rendering allows designers to see changes to lighting, materials, and textures instantly within SketchUp, streamlining the design and approval process.
- Boosted Efficiency: By eliminating the need to switch between modeling and rendering software, VPR saves time and keeps your creative flow uninterrupted.
- Enhanced Design Precision: Perfect for interior and kitchen designers, VPR enables fine-tuning of details like cabinetry lighting, material textures, and furniture placement with immediate visual feedback.
*Affiliate links may be used throughout this article. Read our Privacy Policy for more information.
Table of Contents
What is Viewport Rendering and Why It’s Useful for Designers
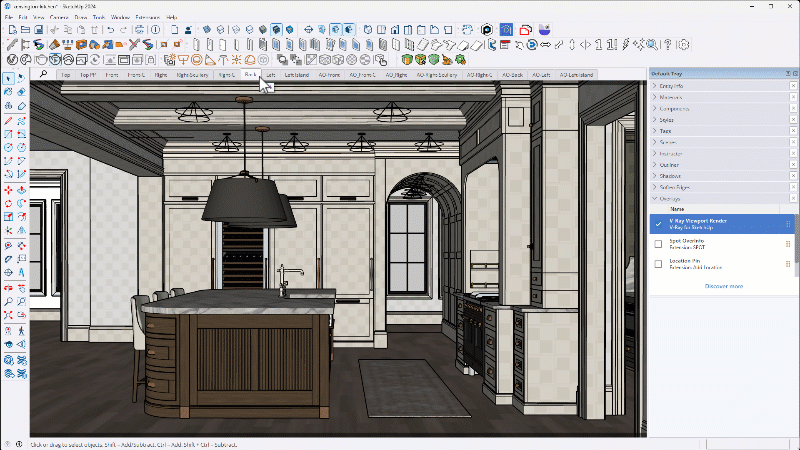
Viewport Rendering allows you to see your render within SketchUp’s modeling space. Instead of switching back and forth between SketchUp and a separate render window, you can make adjustments to your scene—lighting, materials, camera angles—and instantly see how they affect your design.
For interior and kitchen designers, this means you can:
- Save Time: Instead of waiting for full renders to complete, you can make real-time adjustments and refine your vision instantly.
- Enhance Collaboration: Quickly show clients or colleagues how changes impact the design, streamlining feedback and approvals.
- Achieve Precision: Fine-tune lighting, textures, and layouts with immediate visual feedback, ensuring every element aligns with your design goals.
How to Use Viewport Rendering in V-Ray for SketchUp
Getting this to work is not as intuitive as I would have liked, but knowing these steps below will get it activated on your machine:
1. Activating Viewport Rendering
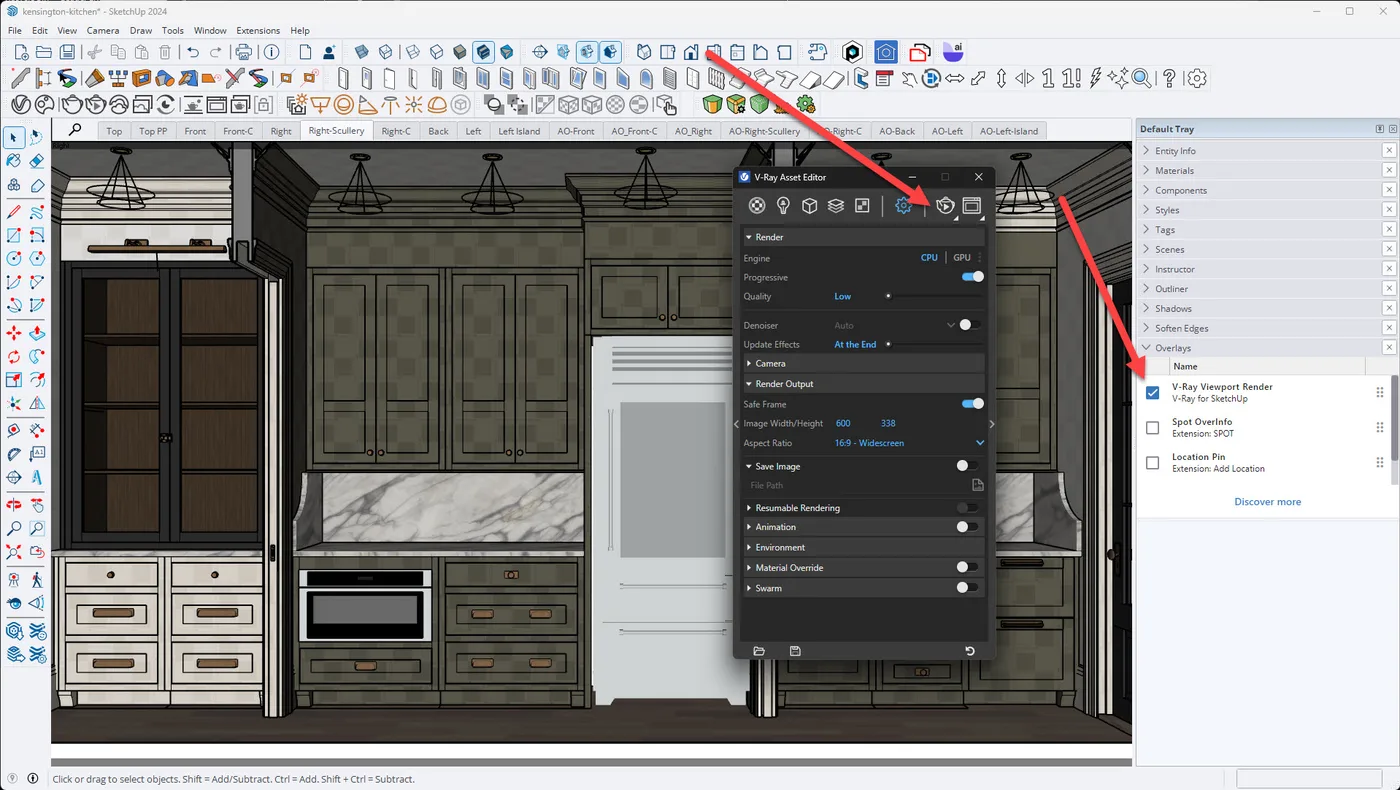
To start using VPR, make sure your Overlays panel is showing in the Default Tray. Open the V-Ray Asset Editor, and an option called “V-Ray Viewport Render” will be available in the Overlays panel. Check the checkbox for that, and then click the “Start Interactive Rendering” button in the V-Ray Asset Editor.
2. Adjust Render Output Settings
Before diving into your work, ensure the render output aligns with your viewport:
- Open the V-Ray Asset Editor and navigate to Render Output.
- Set the Aspect Ratio to Match Viewport.
- Adjust the dimensions to fit your SketchUp window, then click Update for the changes to take effect.
Why Designers Love VPR
For interior designers working on projects like living rooms or primary bedrooms, the ability to adjust the interplay of textures, furniture layouts, and lighting in real time is invaluable. Kitchen designers benefit equally from VPR. With kitchens requiring precise placement of cabinetry, lighting, and hardware, the ability to visualize these elements as they interact can elevate the design and avoid costly revisions later.
For example:
- A kitchen designer can adjust the sheen of a marble countertop or the warmth of under-cabinet lighting while seeing the immediate impact.
- An interior designer can play with velvet textures on upholstery and fine-tune how natural light enhances the space—all without waiting for a full render.
Helpful Tips to Get the Most Out of VPR
In order to use VPR effectively, please consider the following:
Optimize Performance
Complex scenes can be demanding on your system. Use GPU acceleration to speed up rendering. Make sure your hardware is equipped to handle V-Ray’s capabilities for smooth performance. Check out this blog article for my latest hardware recommendations.
Embrace Chaos Cloud
If you’re working on large projects, offload your rendering tasks to Chaos Cloud. This cloud rendering service allows you to render high-resolution images without tying up your local machine, perfect for presenting polished work to clients.
Leverage Chaos Cosmos Assets
Access thousands of pre-rendered, high-quality objects and materials with Chaos Cosmos. Adding these elements can bring your designs to life without the hassle of creating everything from scratch.
How I Use VPR in my Workflow
Do I have this turned on all the time? No. This is similar to Interactive Rendering in the V-ray Frame Buffer, and in my experience, when this is turned on, it is very stressful to my machine and I experience more crashes during modeling.
Now if you have a monster machine with a lot of RAM and an NVIDIA RTX graphics card (or similar), it may work better for you. And I usually only use interactive rendering when I’m tweaking lighting or materials, so I’ll turn it on at that stage (making sure to save often in case it crashes).
Frequently Asked Questions
Can I adjust materials while VPR is running?
Absolutely! VPR updates in real time, so any changes you make to materials, lighting, or camera angles are instantly visible.
Does VPR work with interactive lighting setups?
Yes! You can adjust lighting—like sunlight, HDRI, or V-Ray lights—and see immediate results in your viewport.
How do I stop Viewport Rendering?
Simply click the ‘Stop Render’ icon in the toolbar, or navigate to Extensions > V-Ray > Rendering > Stop Render.
Tags