How to Create Sloped & Vaulted Ceilings in SketchUp
When it comes to modeling interiors in SketchUp, one of the most common challenges many designers face is creating sloped or vaulted ceilings. Whether you’re working on a residential project or a commercial space, mastering these ceiling types can add depth and realism to your 3D models. But here’s the good news: it’s all just geometry, and with a few basic SketchUp tools, you can create any kind of sloped or vaulted ceiling quickly and efficiently.
In this comprehensive post, I’ll walk you through the process of modeling flat, sloped, and vaulted ceilings in SketchUp using only the line tool, rectangle tool, and move tool. No fancy plugins or complicated extensions required. This tutorial is designed for interior designers and SketchUp enthusiasts who want to level up their modeling skills and create professional-quality ceiling designs.
Key Takeaways:
- Flat ceilings can be created by drawing a rectangle or copying the floor and raising it, with attention to face orientation.
- Sloped ceilings are modeled by raising one wall, connecting corners, and using push/pull to form the slope.
- Vaulted ceilings start by raising the wall midpoint, forming a triangle, and adjusting the angle with the rotate tool.
- Keep models organized with groups and the Outliner, and fix face orientation for clean visuals.
*Affiliate links may be used throughout this article. Read our Privacy Policy for more information.
Table of Contents
Understanding the Basics: Flat Ceiling Modeling in SketchUp
Before we dive into sloped and vaulted ceilings, let’s start with the simplest case: a flat ceiling. Most SketchUp users can handle this easily, but it’s important to get the basics right, especially when organizing your model.
Imagine you’re working with a basic room—a 20 by 30-foot rectangle with a 10-foot ceiling height. To create a flat ceiling, you have two straightforward options:
- Draw a rectangle: Use the rectangle tool to draw a ceiling face directly at the top of your walls.
- Copy the floor: Select your floor and use the move tool with the copy function enabled to lift it up to the ceiling height, then rename this new face as your ceiling.
Whichever method you choose, it’s crucial to ensure that the faces are oriented correctly. In SketchUp, faces have a front and a back side, indicated by colors (blue and gray by default). For ceilings, you want the blue side facing up and the gray side facing into the room space. This orientation ensures that when you apply section cuts or render your model, the ceiling behaves as expected.
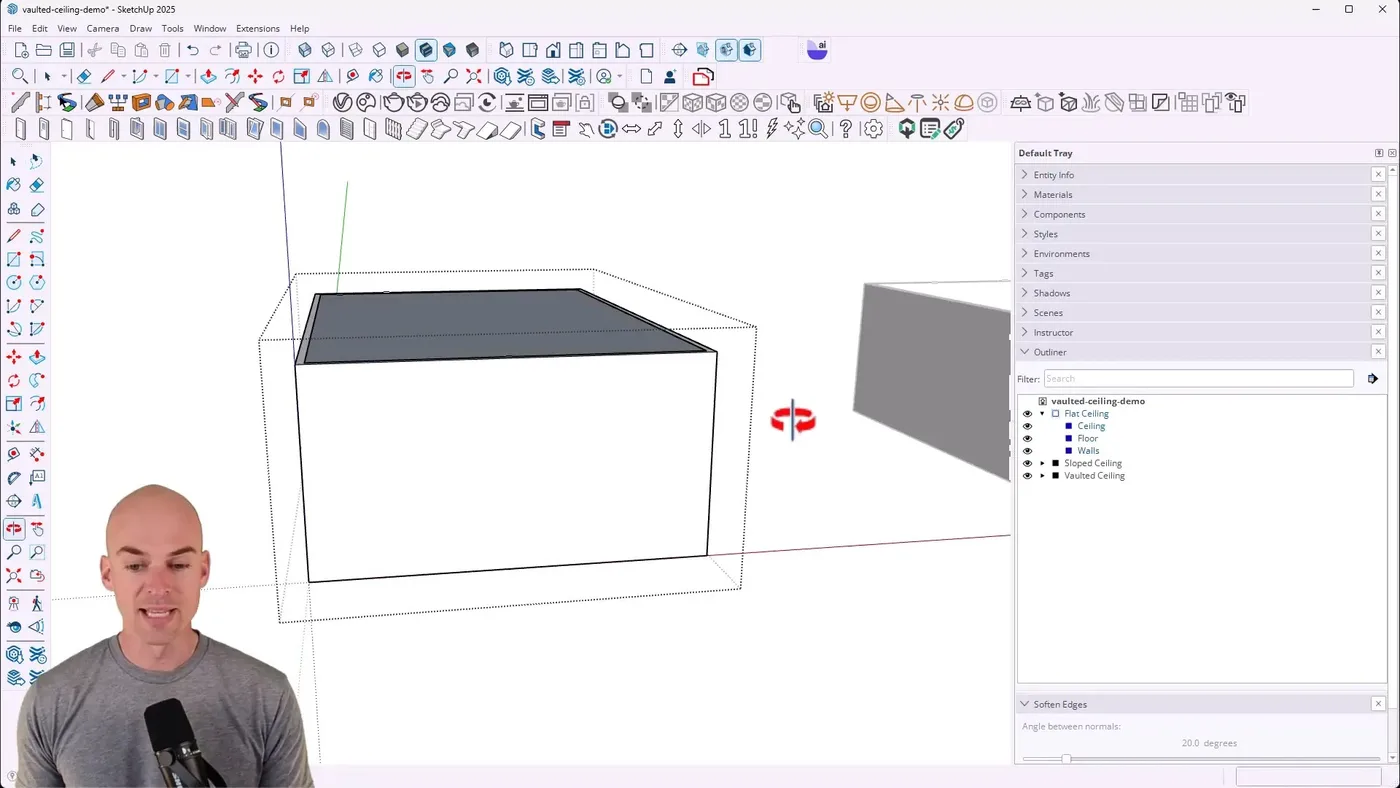
Once your flat ceiling is created and properly oriented, you can use section cuts to check the interior and confirm that everything looks clean and professional.
Creating a Sloped Ceiling: Step-by-Step
Now, let’s take it up a notch and model a sloped ceiling. This is a bit more involved but still very manageable with SketchUp’s native tools. Here’s how you can approach it:
Step 1: Prepare Your Room and Walls
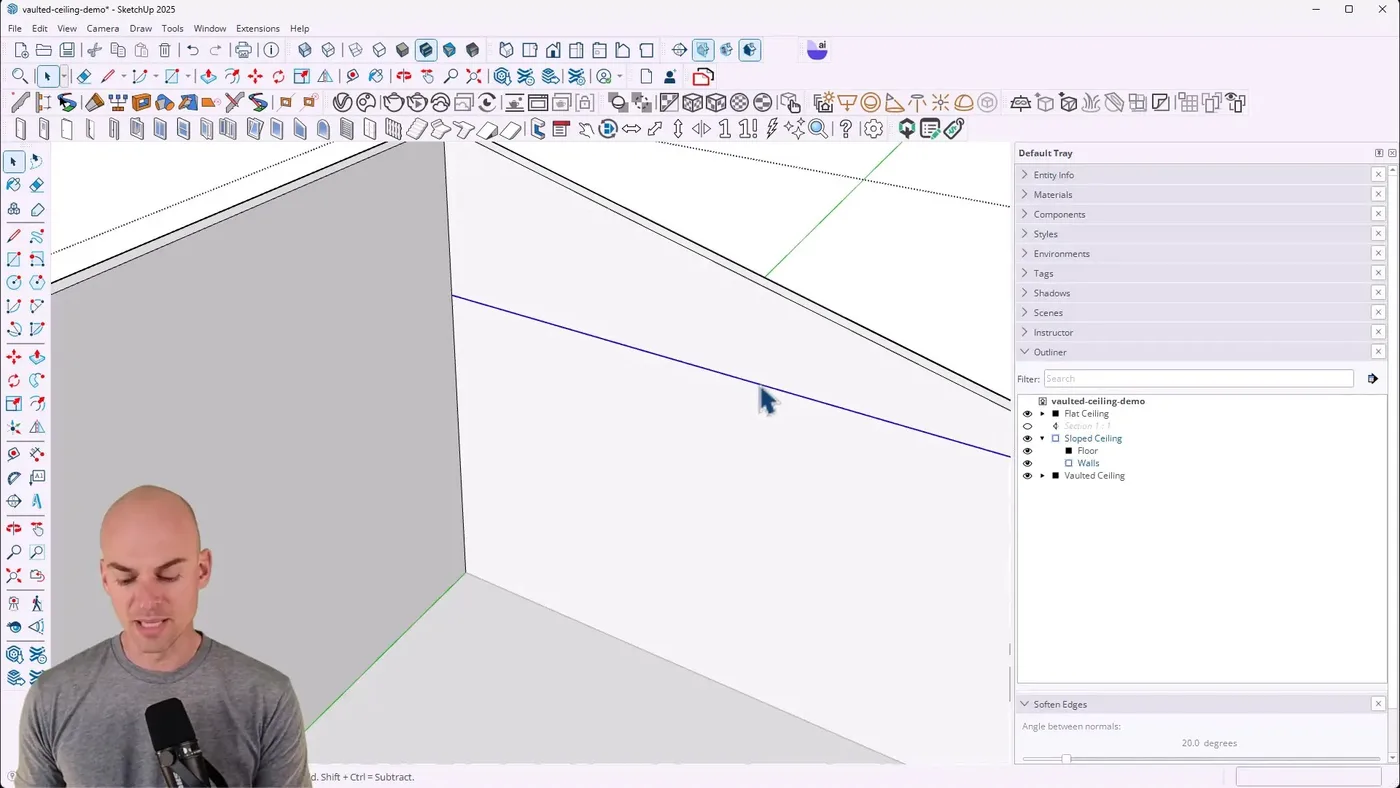
Start with your rectangular room, similar to the flat ceiling example. We’ll be modifying the walls to create a slope.
Enter the wall group and draw vertical lines on two opposite walls where you want the slope to begin. These lines act as reference points for where the wall height will change.
Step 2: Raise One Wall to Create the Slope
Using the move tool, select the top edge of one wall and raise it by the desired slope height—let’s say 5 feet. This action creates a height difference between the two walls.
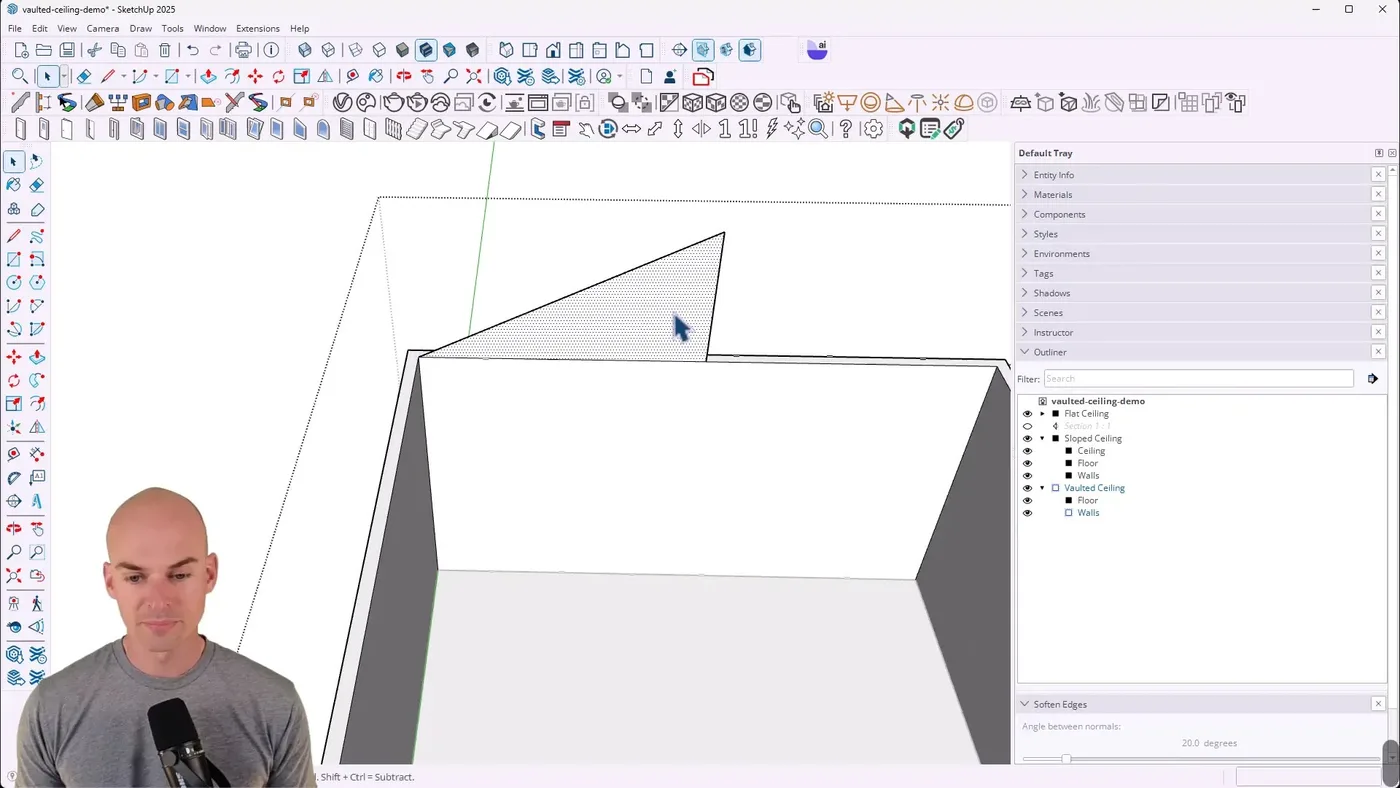
To connect the top corners of the two walls and form the sloped plane, use the line tool to draw a line between the raised corner and the lower corner on the opposite wall. This creates a new face representing the sloped ceiling surface.
Step 3: Use Push/Pull to Extend the Slope
Once the sloped face is defined, use the push/pull tool to extend it across the room’s width. This action gives thickness and volume to the sloped ceiling.
Sometimes, SketchUp flips faces to blue unintentionally. If you notice this, right-click on the face and select “Reverse Faces” to make sure the gray side faces the room interior.
Step 4: Clean Up and Organize
Erase unnecessary construction lines to keep your model tidy. Repeat the process on the other side if needed to complete the ceiling geometry.
Once your sloped ceiling geometry is complete, exit the wall group and create a rectangle at the ceiling level to represent the ceiling itself. Group this rectangle and rename it “Ceiling” for easy management.
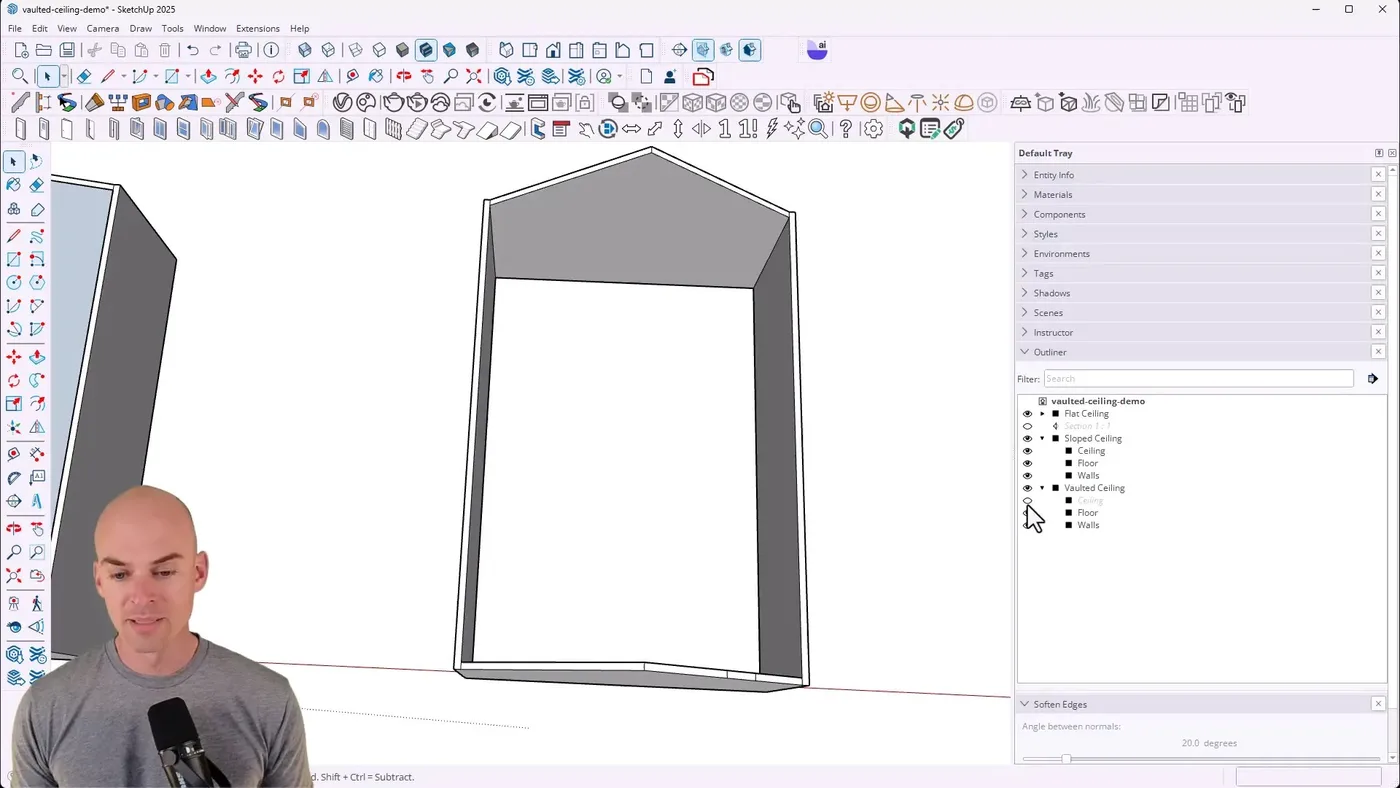
Step 5: Organize Your Model with the Outliner
Using SketchUp’s Outliner tool is key to staying organized, especially when working with multiple ceiling types. Drag your ceiling group into the sloped ceiling group so you can easily toggle visibility and manage layers.
Make sure to reverse the ceiling face if the gray side is not facing up, maintaining consistency in your model’s face orientation.
Mastering the Vaulted Ceiling in SketchUp
Vaulted ceilings are often the most intimidating to model, but don’t let that stop you. Like sloped ceilings, vaulted ceilings are just geometry, and once you break down the steps, they’re straightforward to create.
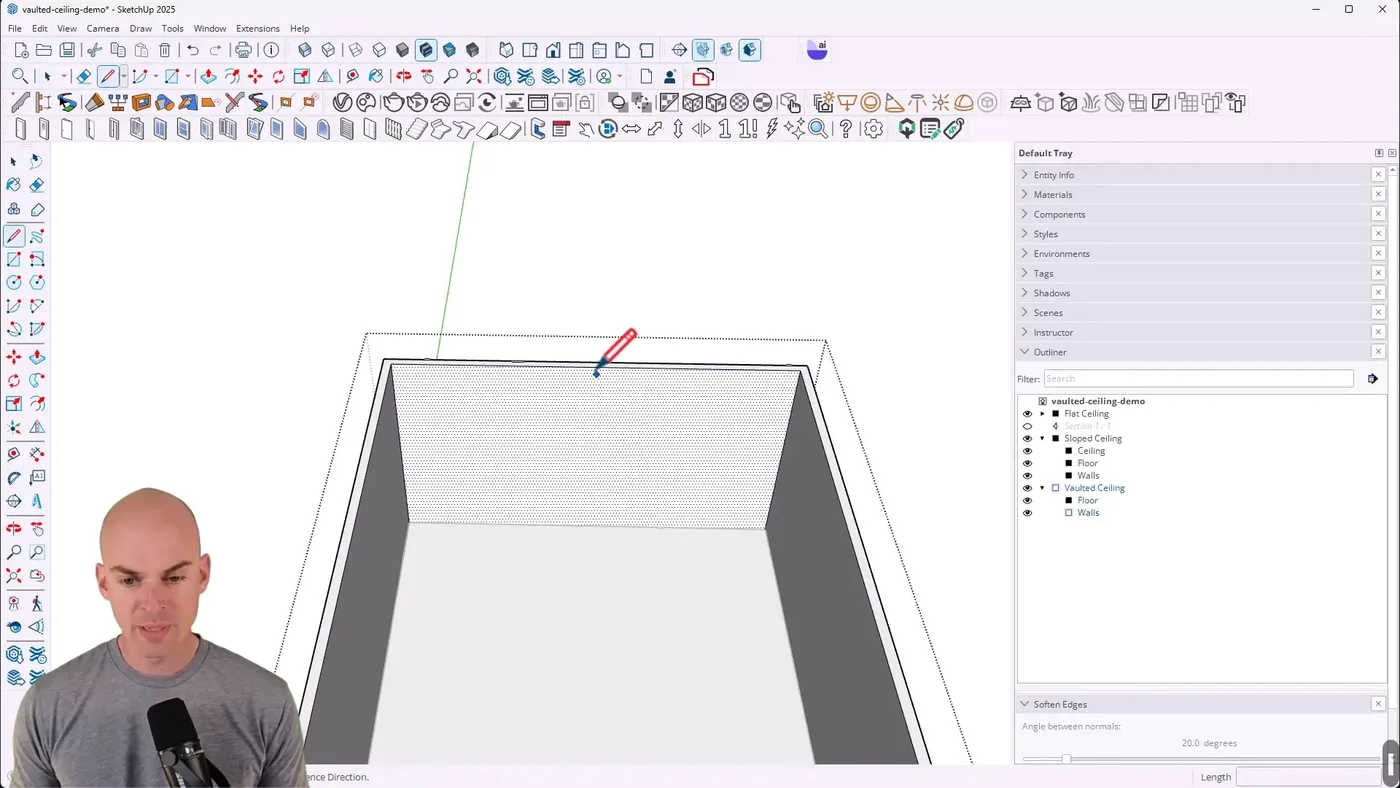
Step 1: Find the Midpoint of the Wall
Begin inside your wall group. Use the line tool to find and snap to the midpoint of the wall where the vault will peak. A small blue “midpoint” icon appears when you hover over the center.
Step 2: Raise the Midpoint to Create the Vault
Knowing your wall height (e.g., 10 feet), raise the midpoint vertically by half the wall height (e.g., 5 feet) along the blue axis. This creates the peak of the vault.
Draw lines connecting this raised midpoint to the top corners of the adjacent walls, forming the triangular vaulted face.
Step 3: Adjust the Vault Angle Using Rotate Tool
If you want a specific vault angle different from 45 degrees, use the rotate tool to rotate the peak line to your desired angle. For example, select the peak line, copy it upwards, and rotate it around the pivot point while locking the axis.
You can type in precise angles like 60° or 35° to get the exact slope you need.
Step 4: Clean Up and Add Thickness
After setting your vault angle, clean up any unnecessary lines with the erase tool. To add thickness to the vaulted wall, use the push/pull tool to extrude the triangular face outward.
If the face doesn’t appear, you can manually create lines on the edges to form a face, ensuring the geometry is complete.
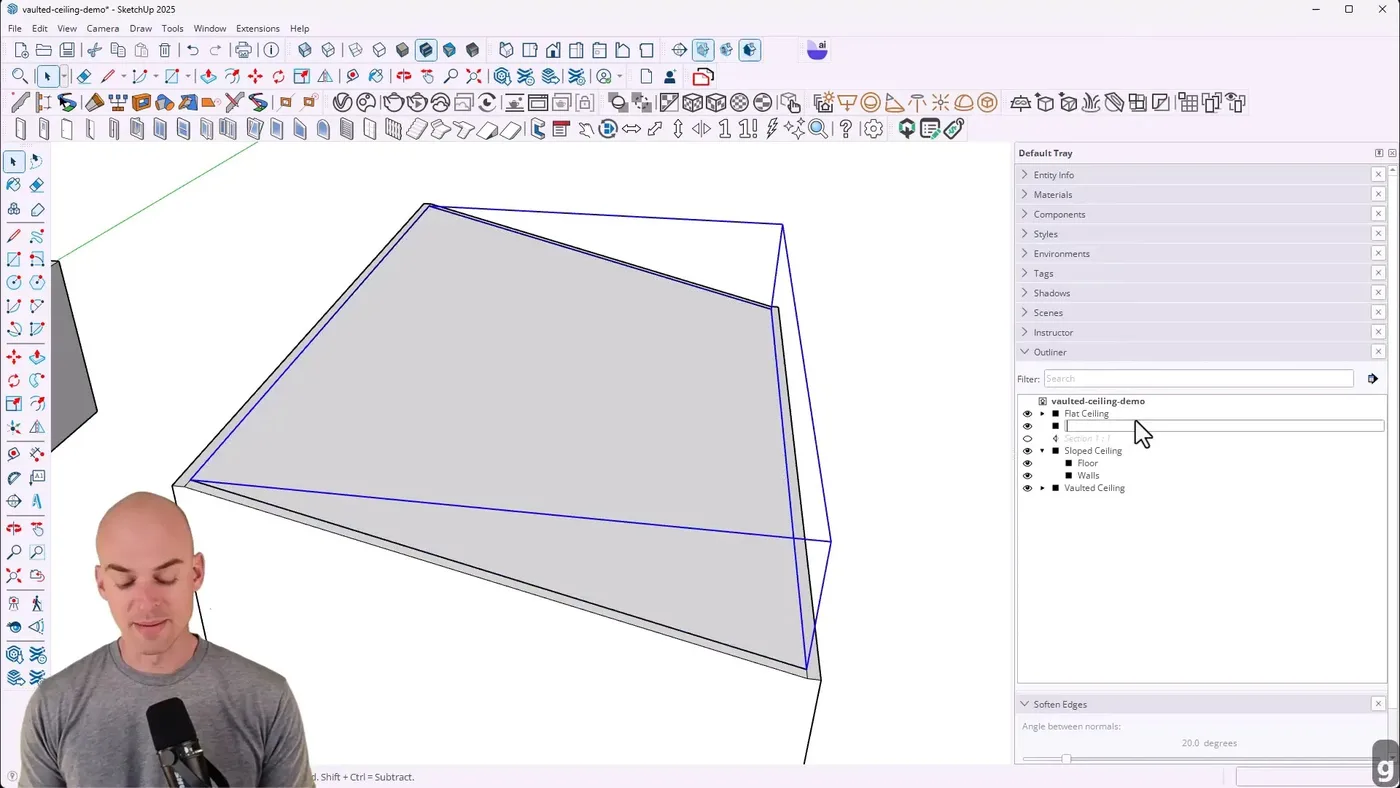
Step 5: Create the Vaulted Ceiling Surface
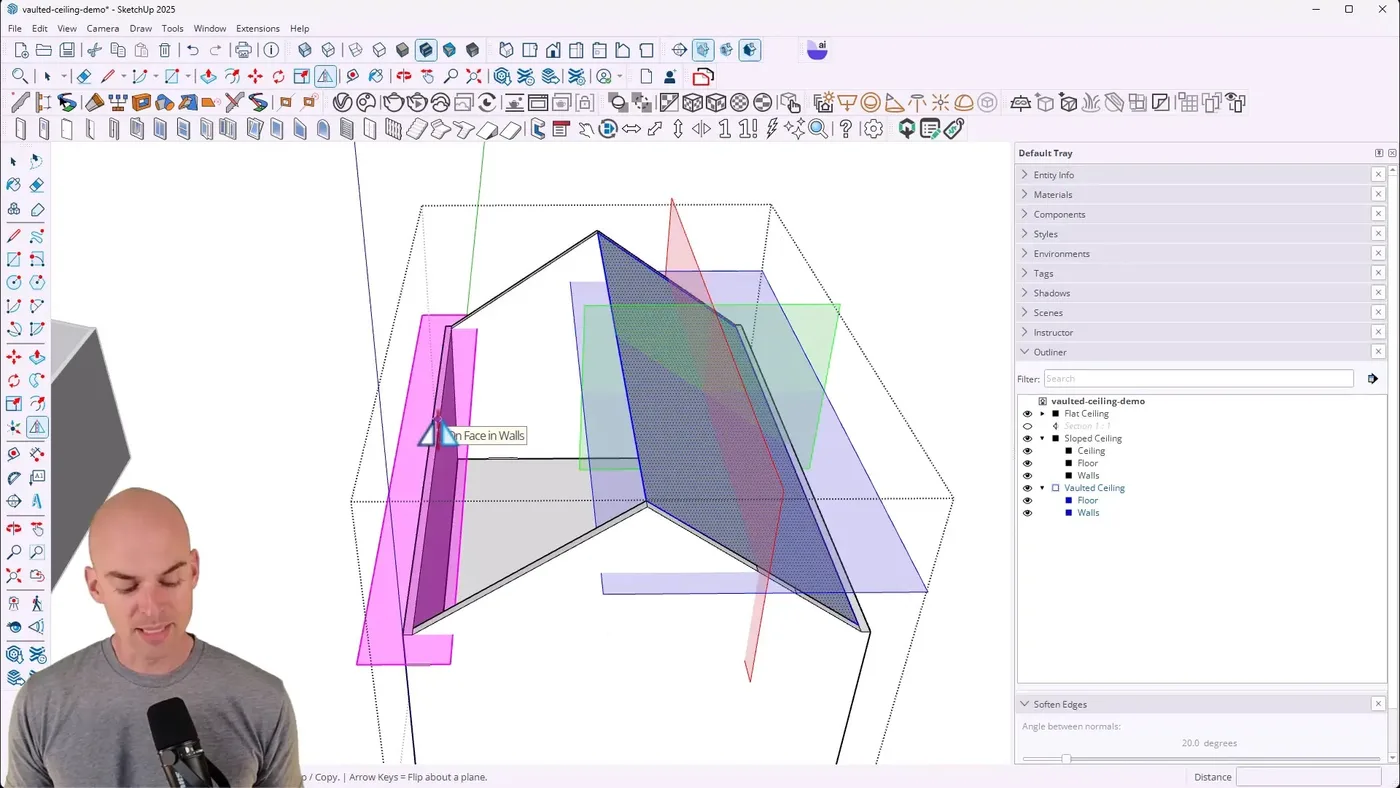
Exit the walls group and return to your vaulted ceiling group. Use the rectangle tool to draw the ceiling surface between the edges of your vault.
Reverse the face if needed, so the blue side faces up. To create a symmetrical ceiling, use the flip tool to copy and mirror the rectangle to the other side of the vault.
Step 6: Group and Organize
Select both ceiling surfaces, group them, and rename the group “Ceiling.” Keeping your model organized allows you to toggle visibility easily and maintain clean geometry.
Tips for Successful Ceiling Modeling in SketchUp
- Always group your geometry: Grouping walls, ceilings, and other elements prevents accidental edits and keeps your model organized.
- Use the Outliner: This tool is invaluable for managing complex models with multiple ceiling types and layers.
- Check face orientation: Faces should have the gray side facing inside the space and the blue side facing outward or upward for ceilings. Use "Reverse Faces" to fix any issues.
- Keep corners tight: Ensure all edges connect cleanly without gaps to avoid rendering or modeling errors.
- Use keyboard shortcuts: Familiarize yourself with shortcuts like "R" for rectangle, "E" for eraser, and "Q" for rotate to speed up your workflow.
Frequently Asked Questions
What is the easiest way to create a vaulted ceiling in SketchUp?
The easiest way is to find the midpoint of the wall, raise it to form the vault peak, draw connecting lines to the corners, and then create the ceiling surface using the rectangle and flip tools. Using the rotate tool allows for precise angle adjustments.
Can I use this method for any room shape?
Yes! While this tutorial focuses on rectangular rooms, the principles apply to rooms of any shape. The key is to break down your ceiling into manageable geometric shapes and use SketchUp’s basic tools to create faces and edges.
Do I need any special plugins to create sloped or vaulted ceilings?
No special plugins are required. This method uses only SketchUp’s native tools: line, rectangle, move, push/pull, rotate, and erase.
How do I keep my SketchUp model organized when working with multiple ceiling types?
Use groups and the Outliner tool to keep ceilings, walls, and other elements separated and easy to toggle on or off. Rename your groups clearly for quick identification.
How do I fix faces that are showing the wrong color?
Right-click on the face and select "Reverse Faces" to flip the orientation. The gray side should face inside your space, and the blue side should face outward or upward for ceilings.
Final Thoughts
Modeling sloped and vaulted ceilings in SketchUp doesn’t have to be complicated. By understanding the underlying geometry and using basic SketchUp tools effectively, you can create stunning, realistic ceilings that enhance your interior designs. Remember to stay organized, use groups and the Outliner, and check your face orientations regularly.
If you want to take your SketchUp skills even further, consider enrolling in a specialized course designed specifically for interior designers. There, you’ll learn how to model complete rooms from scratch and render photorealistic images using V-Ray, all while mastering efficient workflows that save you time and effort.