Real to Render: How to Create a Kitchen Island Using SketchUp
Welcome to the transformative journey of “Real to Rendered,” where the allure of physical spaces inspires digital creation. In a world where design transcends physical boundaries, I turn to powerful tools like SketchUp and V-Ray to bring inspiration to virtual life. This series is more than just a tutorial; it’s a voyage into the heart of 3D modeling, rendering, and the sheer joy of crafting something beautiful from a mere image.
Key Takeaways:
- Build the island in SketchUp by laying out the foundation first, then refine the silhouette before adding details.
- Use components for hardware and trim — never model them from scratch.
- Material and texture choices make or break photorealism — invest the time here.
- Final renders are what sell the design; spend the polish time on lighting and materials, not geometry.
Table of Contents
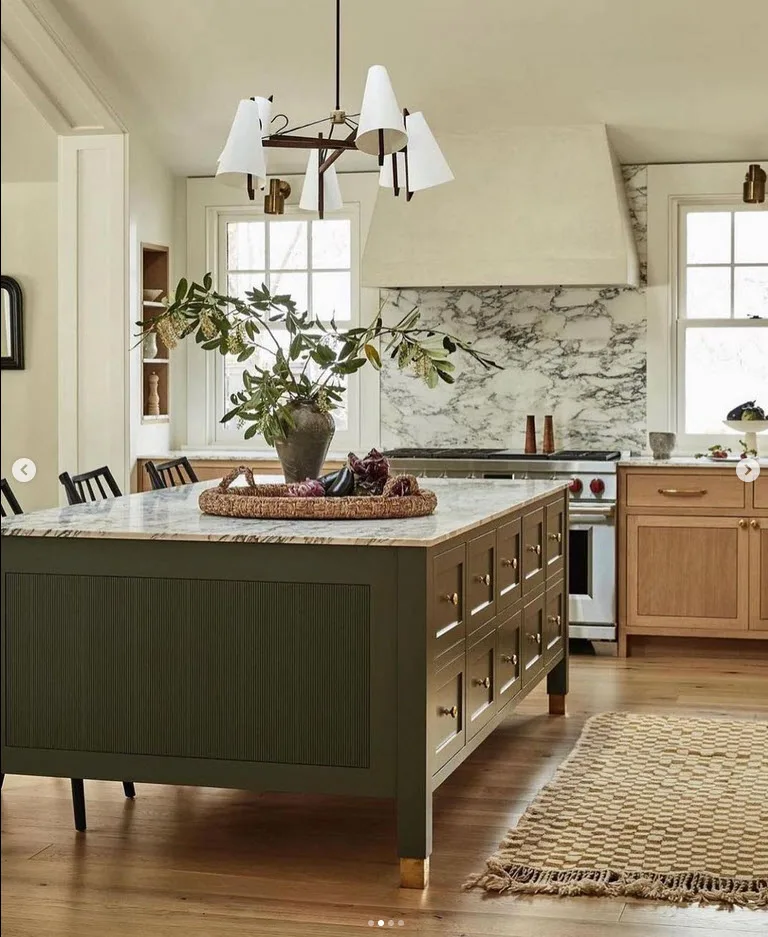
This post unfolds the story of a kitchen island that caught my eye on Instagram—a design so captivating it begged to be recreated. With SketchUp’s intuitive interface and V-Ray’s realistic lighting, I embark on a mission to reverse-engineer this design. By deconstructing the process, we learn not just to replicate but to understand the core of design thinking.
Join me as I navigate through this intricate process, from laying down the first shapes in SketchUp to the final rendering touches in V-Ray. Whether you’re a seasoned designer or a curious novice, this post is tailored to foster learning at every step. So, let’s dive in and transform what’s real into something even more remarkable in the rendered world.
Diving into the Digital Blueprint: Crafting the Island's Foundation
Embarking on this journey, I started with a clean slate—a basic SketchUp file—to lay the groundwork for my virtual kitchen island. The image I had chosen as my muse was imported, not as a texture, but as an image onto my canvas. This distinction was crucial for accuracy later in the modeling process.

With the image fixed in place, I employed the scale tool, a nifty feature of SketchUp that allows me to adjust the image to the exact dimensions needed. For this project, I set the countertop height to 34.5 inches from the floor, which would serve as my reference point for all subsequent measurements.
Zooming in, I reached for the tape measure tool, my virtual ruler, to extract the dimensions that were not immediately apparent. The post width, the height of the feet, and the thickness of the countertop—each measurement was methodically recorded, ensuring that my model would not only resemble but also echo the proportions of the original design. This was a dance of details, a meticulous back and forth between my inspiration and my interpretation, to ensure every inch resonated with reality.
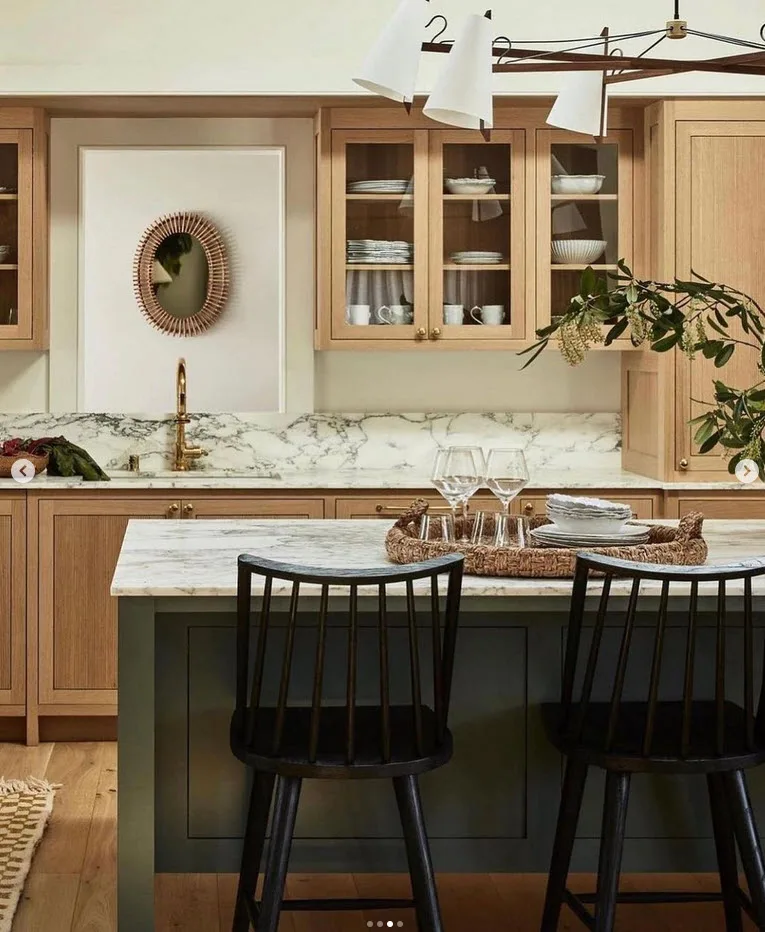
Refining the Island’s Silhouette: A Dance with Digital Tools
With the base measurements in place, my focus shifted to modeling the island’s primary structure. From the inspiration image, the island’s dimensions hinted at a standard size—a 4×8. Trusting my instincts and the clues before me, I drew the rectangle that would become the island’s top view. I then wrapped this fledgling shape into a group, a simple yet powerful SketchUp functionality, and elevated it to the prescribed height of 34.5 inches, breathing the first signs of three-dimensional life into my model.
Next came the legs. SketchUp’s inference system allowed me to intuitively draw and extrude the legs outwards by 3 inches, a task made simpler by the software’s snapping cues, which guessed my intent with surprising accuracy. This feature, akin to a digital sixth sense, made the process feel like a cooperative effort between me and the program, each step confirming the other’s work.
As I etched out the lower section of the island, pushing the base outwards by 9 inches from the floor, I felt a sense of accomplishment. Using the push/pull tool, I sculpted away excess lines and faces, refining the form like a digital sculptor. Each action was a stroke of intention, ensuring that the island was not only functional in design but also rich in detail.
The model was taking shape, a digital echo of the island that had been etched in my mind. But I knew that saving regularly was as crucial as the modeling itself—a mantra for any digital creator. With each save, I solidified my progress, capturing my work like a series of snapshots in time, ready to be revisited and revised as the design evolved.
Sculpting Details and Defining Spaces
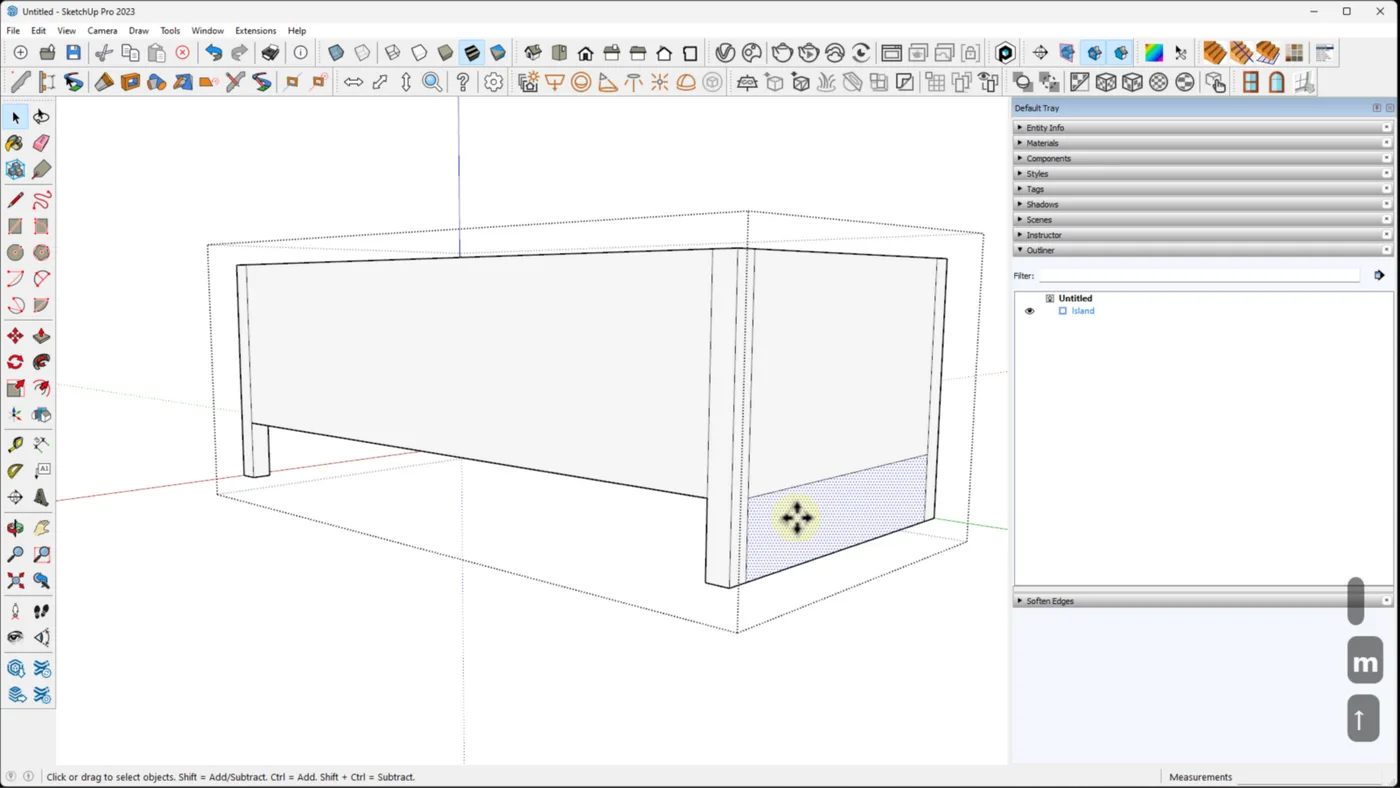
With the island’s silhouette refined, it was time to infuse it with character—the nuances that would transform a basic model into a design that spoke. I turned my attention to the sides of the island, using SketchUp’s offset tool to trace a precise interior margin, creating a ledge that introduced depth and shadow to the top surface.
Now, with the island’s body taking shape, I faced the intricate task of carving out the drawers and panels that would define its facade. The front was to host five drawers across two rows, a design choice inspired by the images. I relied on the ‘eyeball method’ to estimate the spacing, a blend of intuition and experience guiding my hand. The offset tool once again proved indispensable, allowing me to define the borders of each drawer with a consistency that was visually satisfying.
The key to this digital craftsmanship was symmetry and proportion. By dividing the spaces evenly, I ensured that each panel and drawer would contribute to a harmonious whole. SketchUp’s divide tool became my ally in this, splitting spaces into equal parts with the click of a button, a testament to the software’s blend of simplicity and power.
Harnessing Components for Realistic Textures and Hardware
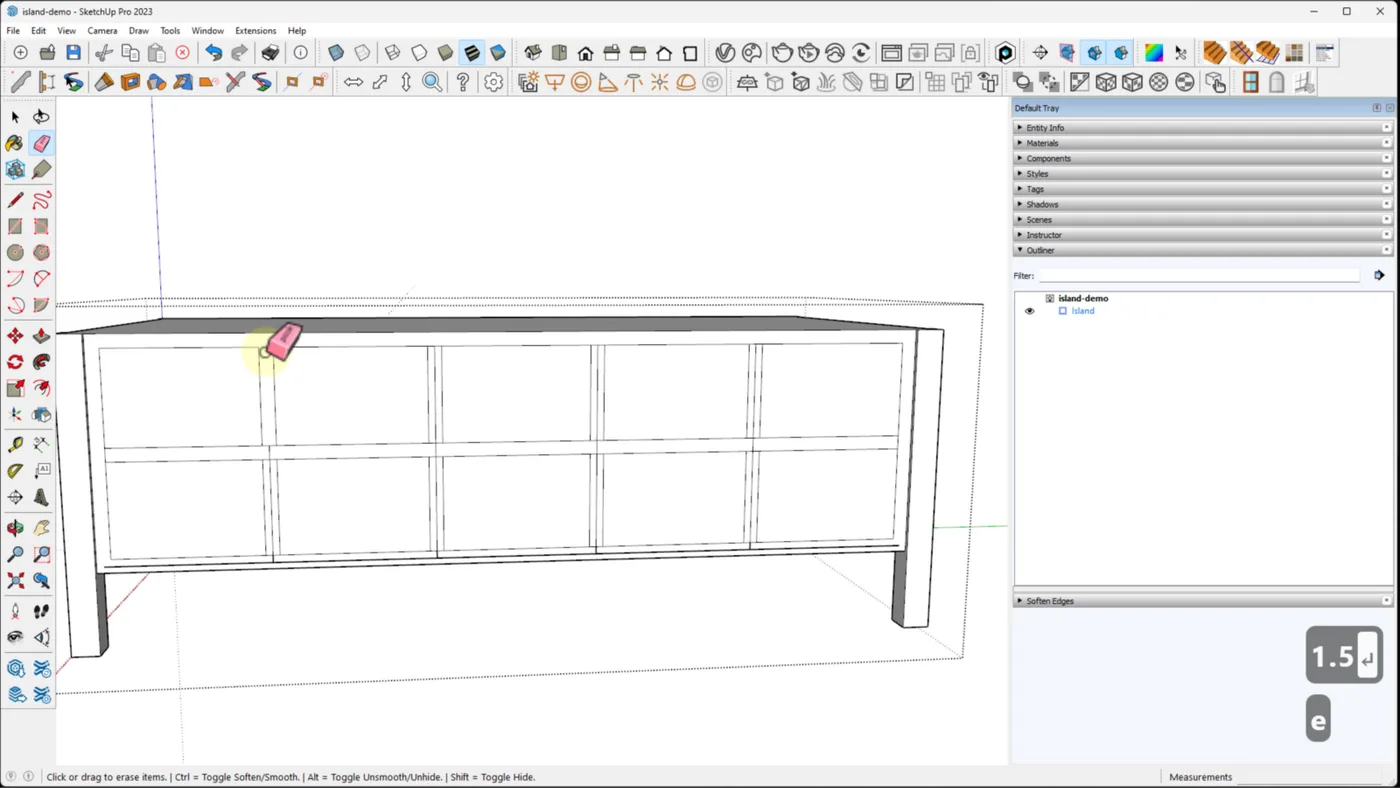
As the shape of the island solidified, the time arrived to adorn it with the finer elements that would bring authenticity to the model. Drawer fronts and hardware, the tactile points of interaction, were next on my list. Here, SketchUp’s philosophy of ‘create once, replicate as needed’ came to the fore. I turned the first drawer front into a component, a singular entity that could be multiplied without adding to my workload. This not only saved time but also guaranteed uniformity across all drawers, a nod to the meticulous craftsmanship of the original design.
Then, it was time to select the hardware. My cursor hovered over the virtual library of components, a digital arsenal of handles and knobs. I sought a match for the original piece, something that would complement the sleek lines of the island. The component finder was a treasure trove, and soon enough, I found a round knob that embodied the essence of the design. With careful positioning, I placed the hardware onto the drawer front, using the move and rotate functions to lock it into the perfect axis, a subtle yet transformative addition.
The SketchUp model was now rich with potential, each component a pixelated promise of the real thing. The virtual island was no longer just a concept; it had volume, texture, and the promise of interaction. It was a testament to the capabilities of SketchUp, a tool that could translate the abstract into the tangible, one component at a time.
Applying Finishing Touches: Materials and Textures
With the structure and hardware in place, my virtual creation was ready for the finishing touches that would define its aesthetics. The selection of materials was not just about appearance but about capturing the essence of the island’s inspiration. I sifted through my collection of textures, each a digital swatch of potential.
For the island’s body, I finally found the right hue of paint — a close match to the original design. It was a simple process to apply the chosen paint to the model, with the paint bucket tool transforming the bland, grey surfaces into vibrant, textured ones.
The leg bottoms, meant to emulate metalwork, received a different treatment. A metallic texture was selected from my material library, which closely matched the original.
Fine-Tuning for Photorealism: Texture Adjustments and Rendering Details
Alright, let’s get down to the nitty-gritty—the textures. This part’s like the cherry on top; it’s what takes our island from “hey, that’s cool” to “wow, can I touch it?” So I played around with the countertop’s marble texture, tweaking it here and there until it had that swanky, I-can’t-believe-it’s-not-real look. I wanted those veins in the marble to pop, you know?
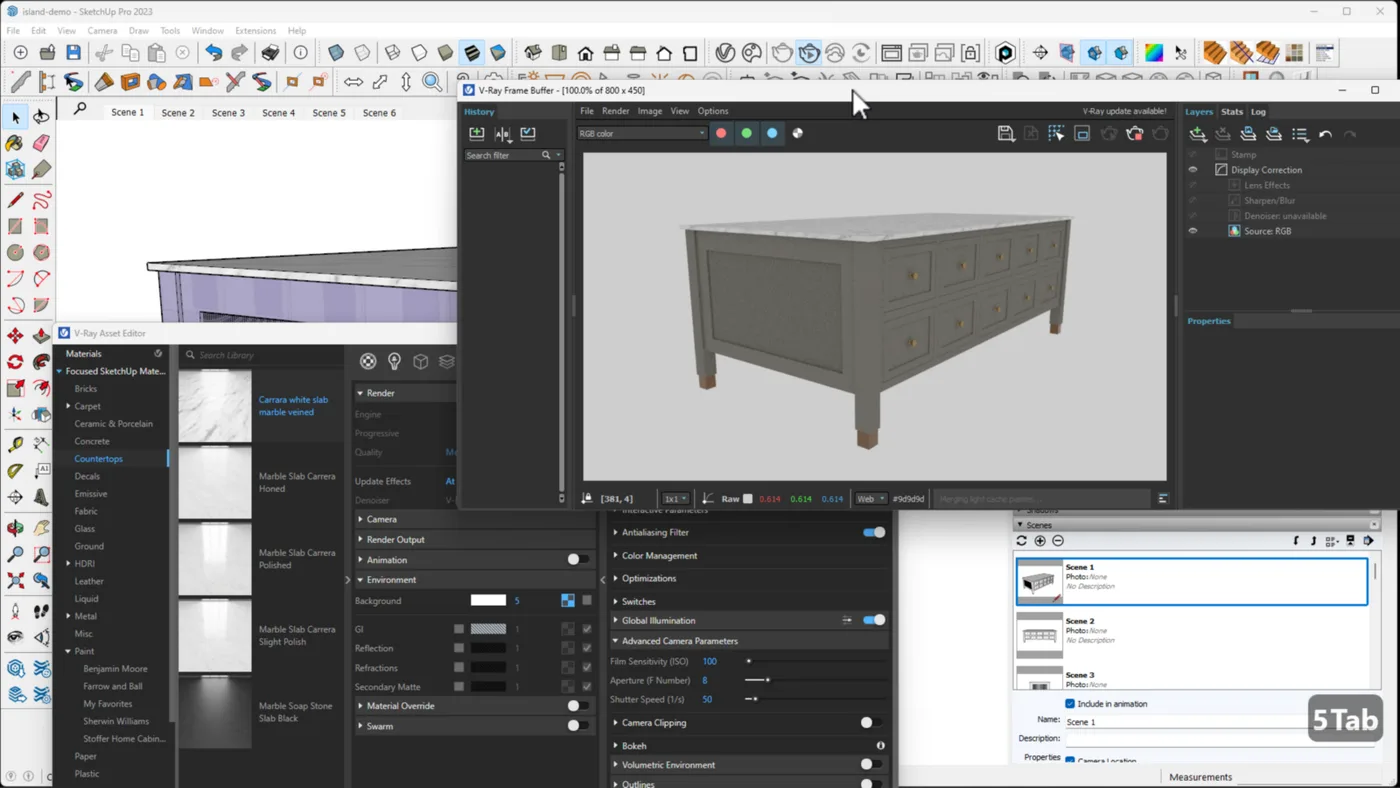
Then, there were the painted surfaces. They needed to have that smooth, almost silky look that screams high-end. A bit of this, a little of that, and voila! The reflections were on point. By the time I was done, every texture on that island was telling its own story, all set for the grand finale in V-Ray. It’s like prepping a gourmet dish before it hits the table—everything’s gotta be just right.
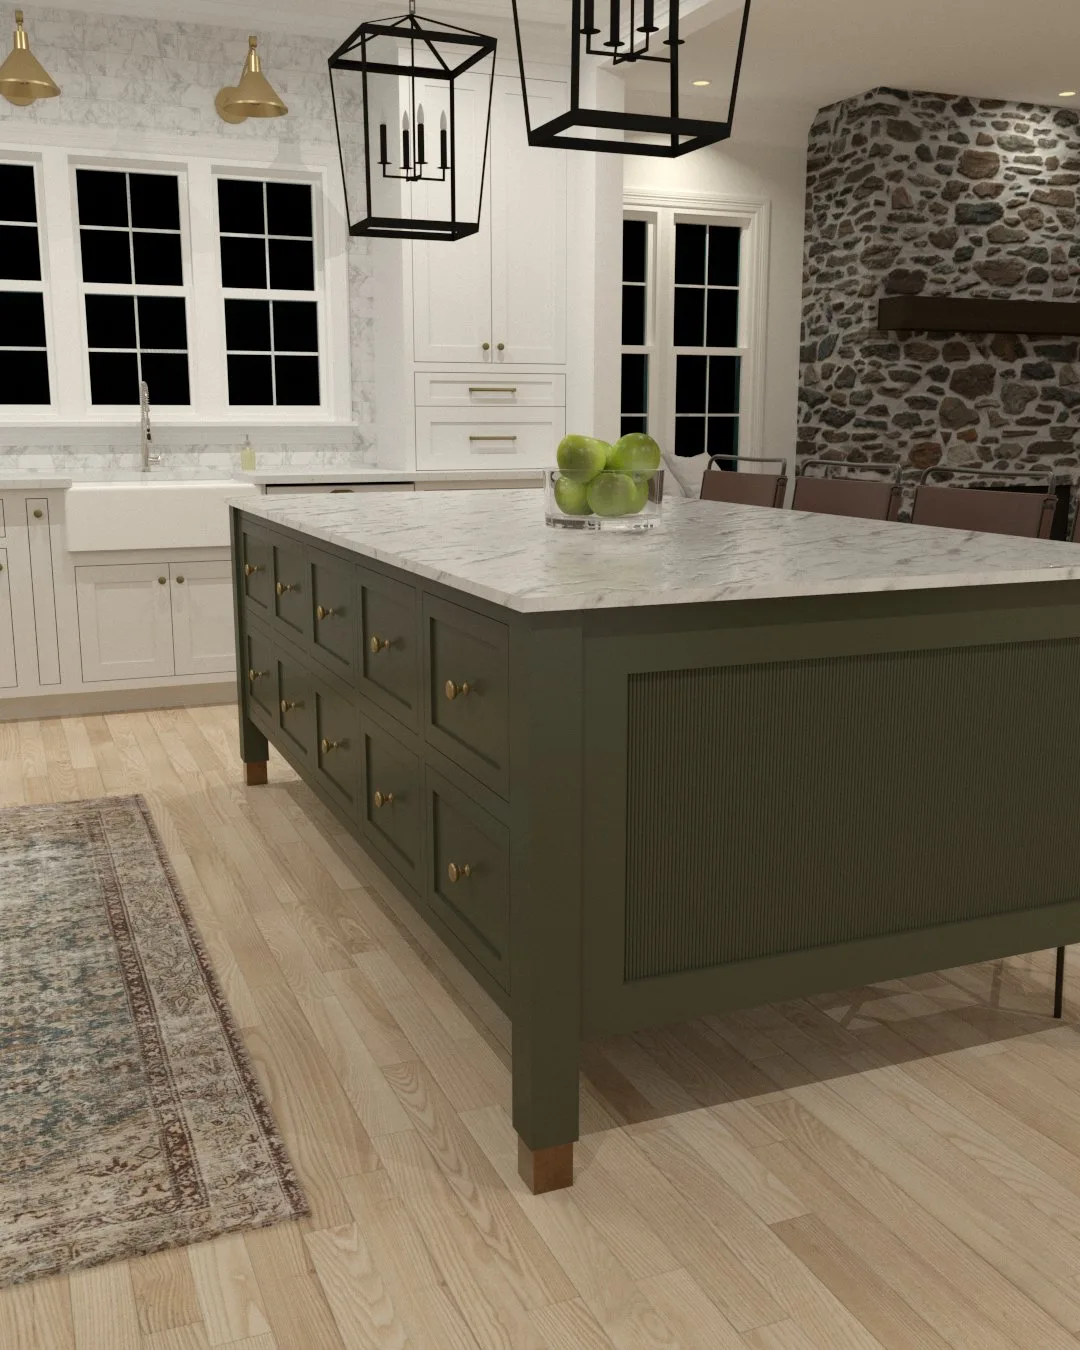
The Final Result
After converting this island group as a component and saving it into my object library, I opened another kitchen project I had from a client and added this new island. Using the Chaos Cloud, I rendered an image to see how it would look. In my opinion, I think we nailed it! What do you think? Leave your comments in the section below.
Frequently Asked Questions
Do I need V-Ray to follow this tutorial?
V-Ray is what makes the renders photorealistic at the end, but you can still build the island in SketchUp without V-Ray if you just need the geometry.
How long does it take to model a kitchen island like this?
With my workflow and pre-made components, an experienced user can build something like this in 30-60 minutes. Without components, it'd take much longer.
Can I use stock furniture components or do I have to model the island myself?
For an island, you'll typically build the cabinetry yourself since each one is custom. For accessories like faucets and pendants, use components.
Where do you get the materials and textures used in the renders?
Chaos Cosmos (built into V-Ray) is my main library. For custom textures, I use the FOCUSED material packs I've built for my courses.