How to Create Crown Molding in SketchUp: A Step-by-Step Guide
In this blog post, I’m going to guide you through the process of creating a multi-piece crown molding profile using SketchUp. I’ll also share one of my favorite extensions that will save you hours of modeling time when working with trim and molding.
Preparations and Image Import
First, ensure that you have a blank SketchUp file and an image of the exact trim profile you wish to model. Import this image into SketchUp using the ‘File’ then ‘Import’ option. Select the image and make sure you import it as an image, not a texture.
Resist the urge to scale the image at this point. Keeping it large makes it easier for the ARC tool to insert many points and create smoother curves. We’ll deal with the scaling later inside of the extension. For now, let’s just keep the image large and in charge.
Creating the Profile
Now, to create the crown molding profile, I like to use a combination of the line and ARC tools. Start by tracing over your imported image with these tools, focusing on the gray area if your image tries to represent a 3D effect. Don’t worry about getting every detail exact. As long as it’s close enough, it should be good for a small trim piece.
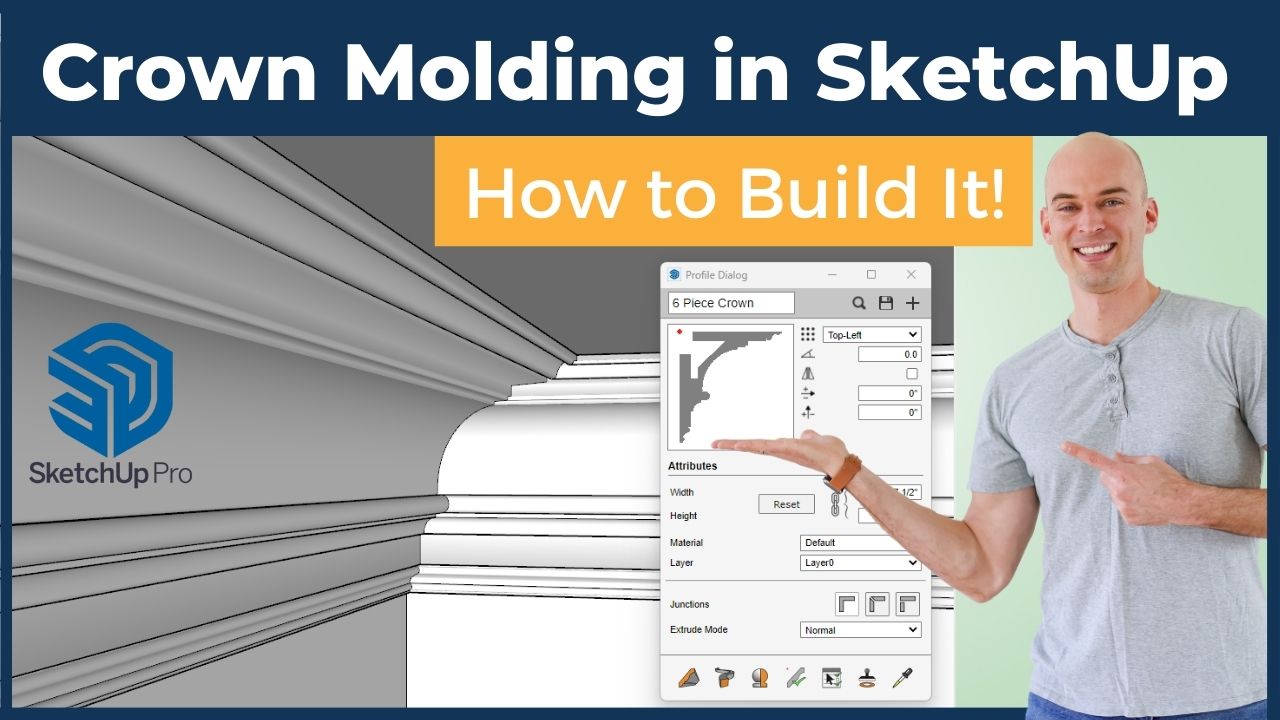
Using Profile Builder Tool
If you don’t have the Profile Builder 3 tool, click here to download the free trial.
Once you have your shape traced, click on the Profile Builder tool and create a new profile. In this example, I named it ‘six piece crown’. Adjust the scale according to the actual dimensions of the molding you want to create. After setting the scale, save your new profile in the appropriate folder. For example, I saved mine under a ‘compound crown molding’ folder for custom work.
Building the Room and Adding Crown Molding
Next, use the Rectangle tool to build a room of your preferred size. In this case, I built a 30 feet by 30 feet room, with 5-inch thick walls that are 15 feet tall. With the room built, you can now add the crown molding. There are two ways to do this:
- Select the ‘Build’ option in the Profile Builder tool, then click on the top corners of your room’s ceiling as if you’re installing the crown molding. This method allows you to visually follow the path of the molding.
- Alternatively, select the path you want the molding to follow (like the Follow Me tool in SketchUp), then use the ‘Build Along Path’ option in the Profile Builder tool. If the molding is built in the wrong direction, use the ‘Mirror Flip’ checkbox, then try ‘Build Along Path’ again.
And there you have it – a room with beautifully installed crown molding!
Wrapping Up
Creating crown molding in SketchUp is not as hard as it might seem when you’re using the right tools. As part of my courses at Focus SketchUp, I strive to teach students how to use the best set of extensions to learn and use SketchUp in the most efficient manner possible.
For more information on my program, please refer to the link in the description. I hope you found this guide valuable. Happy modeling!
Tags